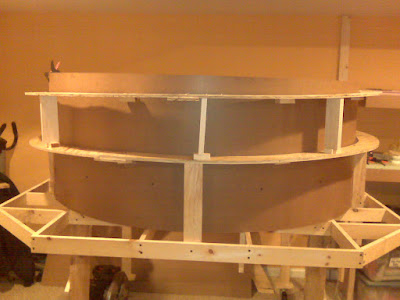
On a conventional helix your ruling grade will be dictated by the radius your using, and the amount of separation you want to have between loops. The NMRA clearance standards state no less than 3" between loops, and that's only good for steam era equipment. If you're doing a more modern era, you need more clearance. I wanted 4" of clearance between where the loops crossover. I like the Ma & Pa's CF7 diesels from a more modern era (if you classify 1980's as modern) and maybe once in awhile I might want to run a more modern op session, but that would be in the future. I'm still in the process of building my steam era roster so any purchases of modern equipment will definitely have to wait.
 |
| Ma & Pa CF7 with a face only a mother can love :) I think they look cool. |
But planning for more modern equipment with their clearance issues now makes it possible to run them later, if the desire arises.
So where was I? Oh yeah.. if you know what radius your going to use, and what clearance you will need between decks, it's an easy matter of setting the beginning loop level like this: Using my clearance standard of 4" as an example, set up one full loop to start with. Divide the loop into quarters. At the 1/4 mark you will need to be at 1" of rise, at the 1/2 mark you need to be at 2" of rise, 3/4 mark 3" of rise.. get it? Pretty simple and if you take your time and set the bottom level grade carefully, the rest of the helix will follow easily, especially if you use wood block risers cut to 4" to hold up the next levels. An example of what this looks like can be found in this video by Jeff Johnston.
He also had an article on building his helix in the April 2008 issue of Model Railroader. Hopefully, if your building a more conventional helix, my simplified explanation helps.


