Saturday, July 28, 2012

Moving right along.. Progress shots and some musings about my Heat Miser post..

OK, where to begin.. It's been a couple of weeks since the last update, so let me go over the progress made since the last posting.  I'll get to the Heat Miser in a little bit..

I've continued making progress in the yard at York PA, and in fact, I have almost all the track fitted.  All that is left to do is to go back and glue everything down.


Looking down the yard throat into the York yard. 


Here we view it from another angle.  You'll notice that I took down the part of the yard bench work that was the start of the peninsula.  This will stay down till I have all the track permanently glued down, the backdrop installed and painted, and maybe even till scenery is roughed in.  This is one of the only places on the layout where access for scenery and track work will require a long reach.  The one drawback to foam bench work is that you can't climb on top of it to work on it.


This past Wednesday night, Ralph Heiss and Dave Ramos came over to give me a hand installing some fascia.  They also helped me test hang some backdrop.


Dave is applying Liquid Nails to one of the 4' fascia pieces.  Remember, the layout is built in 4' sections so it can be moved if necessary.

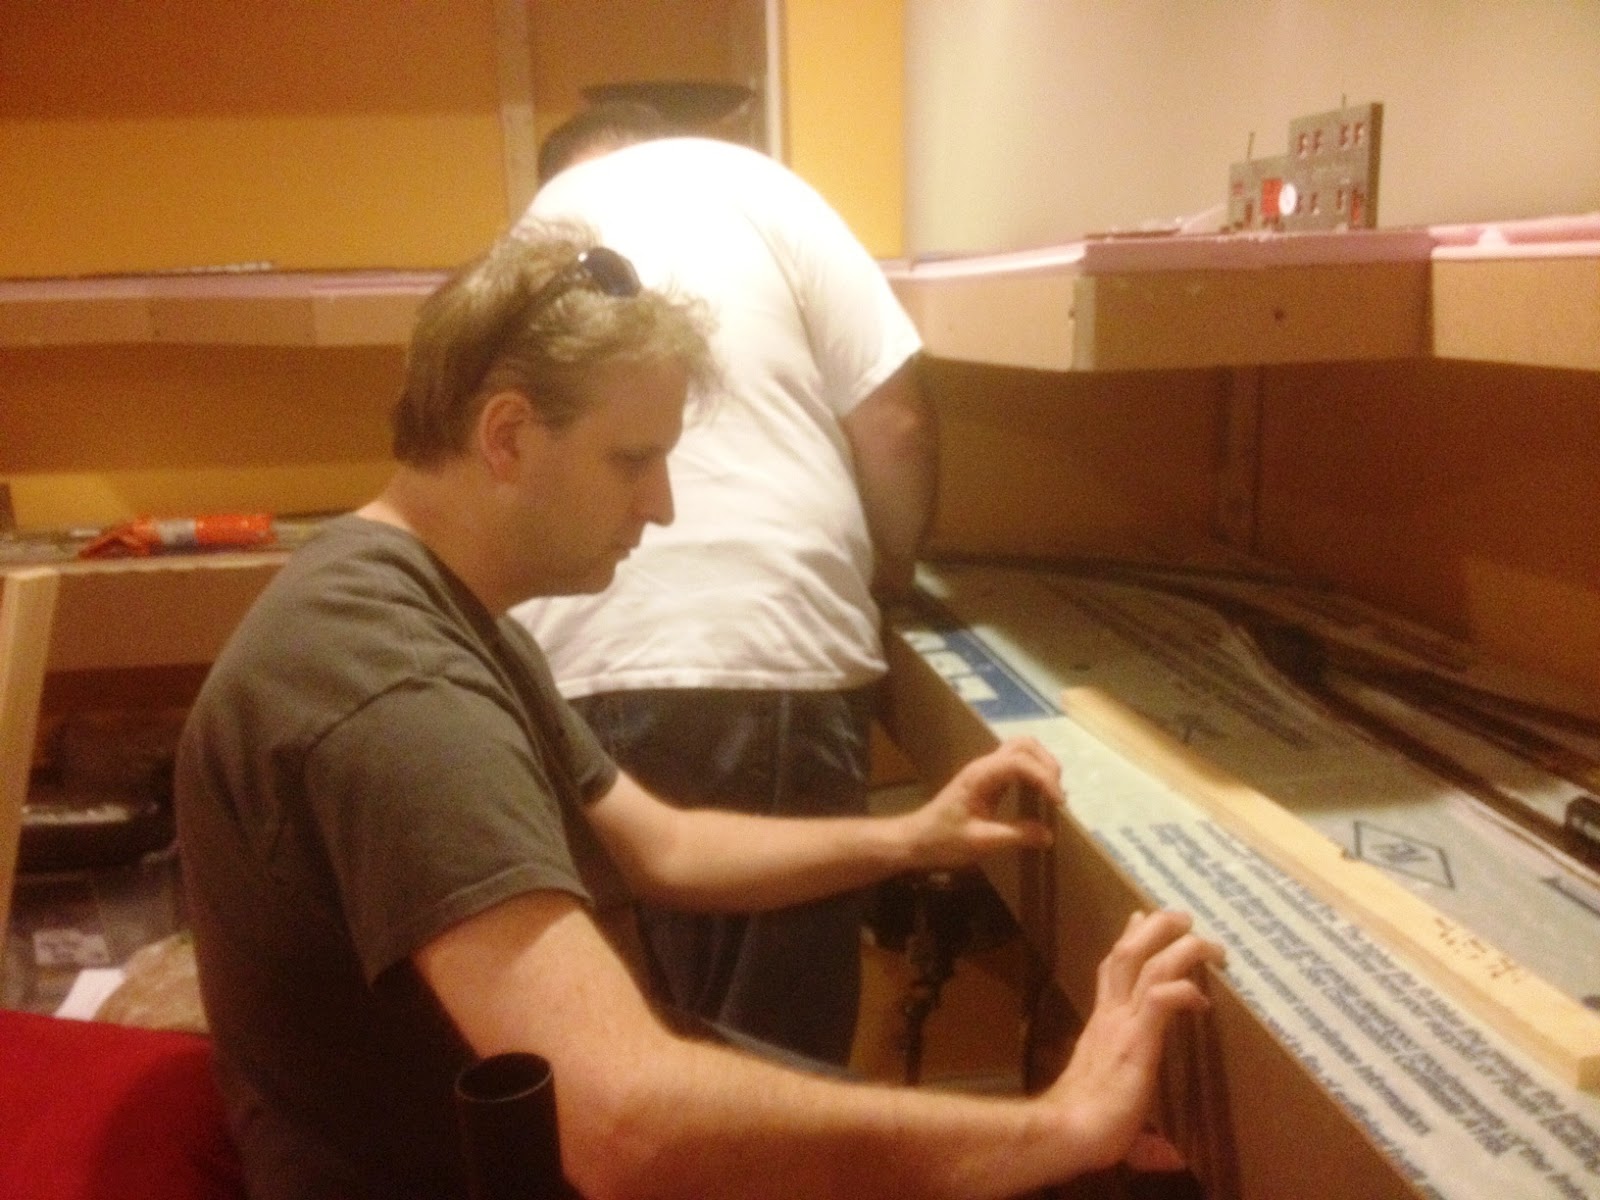
No, Ralph isn't playing air piano.. He's just holding up a section that was just glued while Dave tacks a brad into it to hold it up while the glue dries.


We also put up a long, narrow strip of Masonite fascia along the top loop on the helix.  The bottom loop will get a deeper fascia, and the landforms and scenery around the bottom loop will have more depth than the top.  This is where the station scene at Yoe PA will be located.

The test of the backdrop was a failure.  The PVC flashing material I'm using is too flexible.  It did not take kindly to the distance between the studs when we attached it.  I have to go back and put some kind of support behind it to keep it from flexing and curling at the top and bottom edges.  We figure we can use either furring strips across the studs, or 12 " wide by 4' long 1/2" plywood connected to the studs, or 2" thick Styrofoam wedged between the studs might work for backdrop support.  I'll have to think about these options before deciding and moving ahead.


Now about my "Extra Days off.. Thanks Heat Miser" posting.  

I bring this up because I'm somewhat amused, confused, and just plain mystified over the amount of traffic that post has generated, which by the way is the most out of any I've written to date.  I cannot for the life of me figure out what is drawing people to that post.  The traffic source tracker on Blogger shows that 98% of the people going to that post are coming from Google searches.  

My question is:  Is the Heat Miser that popular of a guy?  Or was it the lure of maybe somehow, Mr. Heat Miser makes it possible for people to get extra days off?  


I guess only the Heat Miser knows for sure. ;)

Friday, July 27, 2012

¡Viva El Sombrero!

Well.. It's finally happened.. the Sombrero came down Wednesday night.  It hung in defiance for many months, resisting being taken down.  But alas.. It was in the way of the backdrop being tested, so it HAD TO COME DOWN.

The following pictures celebrate THE SOMBRERO.  ¡Viva El Sombrero!

These also go out to Riley.  Why?  Because I know he appreciates a nice sombrero when he sees one.  :p


Ralph Heiss was given the honor of officially taking down El Sombrero.

We all thought it would be fitting to celebrate El Sombrero by posing for pictures with it on..


Senor Heiss, OLE!


Senor Ramos, OLE!

Senor DiIorio, OLE!

  Long live El Sombrero!


A serious update to follow shortly..

Tuesday, July 10, 2012

Laying Down the Gauntlet..

Work has been progressing through the Yard at York.  I have been working on installing turnouts in the yard ladder.  The far track in the yard, the one closest to the backdrop, contains a 50' - 100 ton track scale with a gauntlet style track arrangement.  While some track scales were built with single track and could take the weight of a locomotive running over them, the gauntlet style was designed so that the locomotive (or any car not to be weighed) can be switched to the "dead" rail and protect the scale.  The offset in the gauntlet track was just enough that the cars and loco could still be coupled but run on the separate tracks.   

I decided as a diversion yesterday that I'd try building the scale track.  I figured I can use the #6 Fast Tracks jig I've been using to build my turnouts to help in building the gauntlet track that runs over the scale.  The following pictures show how I did this:


I cut 4 pieces of code 70 rail to length of of 135' HO scale.  The scale track here was actually 155' but I compressed it a little so it would fit the scene better.  I then cut those rails exactly in half so I can build both ends more easily in the Fast Tracks jig.  

I started the gauntlet track by laying rail into the Fast Tracks jig along with some PC ties.  I soldered all of the rail to the ties in the foreground and only to the first tie on the rail in the background.  I did this for both ends.


 I took the point rails and filed them like you normally would do for regular turnouts using the Fast Tracks point filing tool for #6 turnouts.  I also at this point filed out the notches for the rail closure on the outer rails.
 
Once the points were filed I laid the point rail that goes in the slot opposite the main rail that was soldered to all the PC ties first.  I then measured with a scale ruler 1' foot (HO) and soldered the next rail to the PC ties ( this is done out of the jig now).  I then soldered the opposite rail using a HO scale fixture to keep everything in gauge.  You can use a Kadee fixture, Micro Engineering, or as some of my friends use, Rollies.  It's important you go back with a NMRA gauge and check your work. I then soldered the point rails to the throw bars.  Sorry, I didn't take pictures of these steps.


 Here are both halves finished and ready to be joined.  I filed the edges on the ends that will be joined on my belt sander to make sure they were of equal length.  I then used rail joiners to join both halves together.  The final touch once I did this was to solder the joints.


 Here we see the infamous DL&W coal hopper, of the helix track work test,  testing out my work.


 Here is a more overall shot of the entire scale track.  The longer PC ties will be trimmed to width and wood ties will be laid down during installation.  Now I'm just waiting to find some pictures of the scale and scale house.


This turned out to be a fun project that took me a only few hours to build.  It was a nice diversion. :)

Friday, July 6, 2012

RIP Mr. Nipper.. We progress on in your memory..

Today, in a flurry of track cutting and fitting, my trusty nipper gave its life in the pursuit of reliable, and neat track work.


RIP peace Mr. Nipper :(

I was cutting flextrack when Mr. Nipper (OK, maybe the heat is getting to me :p) snapped off one of his cutting edges.  I had bought him on one of our bi-annual trips to Hong Kong, where Amy is originally from, in a HK version of an American dollar store.  They are known as $10 stores, and I frequent this particular store on the Kowloon Peninsula each time we visit HK.  The exchange rate is a very consistent average of $7.70 HK to $1.00 US, so you can figure I paid about $1.35 for him.  I've literally made thousands of cuts with him, so I definitely think I got my moneys worth. 

Luckily, I have another pair of flush cutting nippers that I had bought awhile back at Home Depot, which I'm using now.  But my trusty Mr. Nipper will truly be missed. :(

The following are progress shots of what I have accomplished since the last posting, and to which Mr. Nipper gave his life. :p


First before starting anything else I caulked down the turnout, siding and connecting track at National Biscuit.


I cut in the turnouts and sidings for W.M. H Ottemiller (forground) and Peoples Fuel (background).
  
While starting to plan out the yard ladder in York, I realized that the actual track arrangement according to a map that I have, would flow better than the one I drew up in Cad Rail, so I'm modifying the yard as I lay in the turnouts and track.

This is my version of the yard in York, PA as originally drawn up in Cad Rail


Here is the beginning of the yard throat.
  
One of the few benefits of the heat wave here in the US has been that I've had a good excuse to work on the layout in my nice, air conditioned basement. :)   In fact, looking at my iPhone, the weather APP says it is still 97 degrees F. (36 degrees C. for my Australian friends) at 4:30pm.  I think I'll head back to the basement...


Sunday, July 1, 2012

Forging ahead..

I continue to make progress on installing track on the layout.  I needed to get all the sections that I fabricated glued down permanently to the layout.  Some of the Fast Tracks turnouts have been giving me fits (OK almost all of them) with the Quicksticks ties coming undone while handling the turnouts for placement on the layout.  The Pliobond method of gluing the ties to the turnout just doesn't work.  I've done everything from reapplying the Pliobond to using the online tutorial's fix by heating the bonded sections with a soldering iron.  It just is not a reliable bond.  I've been able to rectify the problem by using gap filling ACC which has solved the problem.  My suggestion to anyone who plans on using Quicksticks is to either use my ACC method, or buy the pre-drilled version of the Quicksticks and spike the turnouts to them.  I still like Quicksticks because it's a faster way to get ties under your turnouts. 

Other than the problems with the turnout ties, everything else has been moving along nicely.  I worked on caulking down the track that was recently installed, and I also started working on the siding located on the top level that serves T.H. Knisely Coal in Red Lion.  I'm trying to locate pictures of this business but so far have come up empty.  Working off Sanborn Maps I've determined that they had a ramp and covered coal pockets here.


I started by figuring out what kind of footprint this structure will take up and where the ramp will need to start on the siding.  If I can get a picture I'm going to try and scratch build it, but it will need to be slightly compressed to fit this location on the layout.


Here we are looking in the direction from the switch off the main.  I'm using Woodland Scenic's incline starter, 4% grade, to get up to grade here.

Here we are looking from the other direction.  I glued together a couple of pieces of scrap plywood leftover from the Quicksticks and made them the length in HO feet of what the building will be once built.  This way I can figure out where the ramp needed to start working back from the building.

Some of the other odds and ends I worked on were to fit track sections to connect both sides of the lower deck and to lay in the siding for National Biscuit in York, PA.


Here is the connector installed.  This has been since caulked down.  All track that crosses where either the bridges come out for access or between 4' sections will be gapped so if a regular section needs to come out or a bridge section needs to come out for access to the sump pump, it can be done so easily.

Here is the siding for National Biscuit in York, PA.

It's been pretty hot in NJ (as well as most of the country during this heatwave) so I'm planning on staying in during the day this week and get more done on the layout.